THE COMPLETE RELEADING PROCESS
PHOTOS: Detailed photographs are taken before the windows are removed to insure exact reproduction during the restoration process.
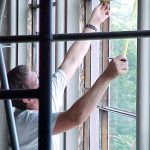
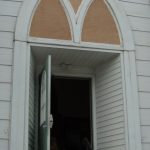
WINDOW REMOVAL: The windows are removed — the window frame is cleaned of all bedding material — window opening measurements are taken and templates are made — a weatherpatch is installed into frame opening.
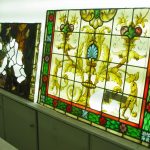
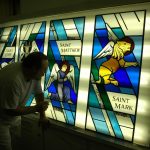
PRE-DISASSEMBLY: Each window is individually inspected on a vertical light table for the purpose of making notations and decisions with regard to glass repair and replacement, as well as lead sizes and profiles.
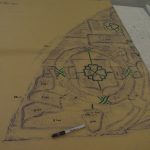
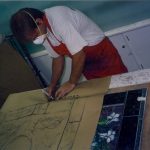
RUBBING: A rubbing is taken of each window to create a paper pattern (cartoon) which will be used when the window is releaded. The rubbing duplicates the lead-line patterns exactly and insures that the window will be rebuilt as per the original.
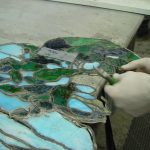
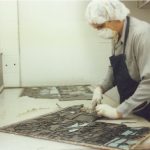
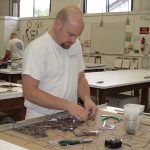
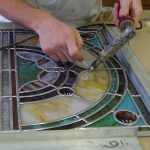
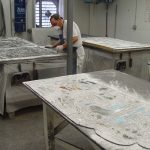
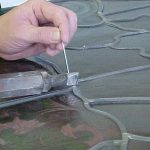
DISASSEMBLY: The disassembly process involves the use of a lead snip. This tool is used to clip the lead in different areas especially at the solder joints, thus allowing the worker to pull the lead away from the glass and gently wiggle the glass out of its position in the lead channel. The glass is put on a labeled work board and stored horizontally until it is ready for releading.
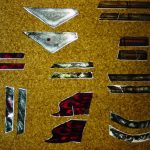
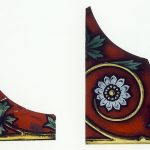
BROKEN GLASS: A multitude of opinions and methods exists on dealing with broken glass. The following represents our basic approach when dealing with non-historic projects. With regard to broken “colored” glass, if a matching color is available, a new piece is cut to replace the original. If a matching color is not available, the glass is edge foiled or edge glued. With regard to broken “painted” or “stained” pieces, if the break is clean and single, edge foiling or edge gluing is done. If the piece has a multitude of cracks and breaks, then reproduction/replacement is recommended.
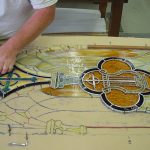
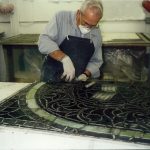
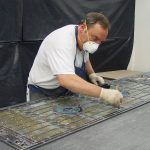
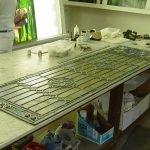
RELEADING: The window is then reassembled with completely new lead, using the same size and profile lead came as was in the original window. If in previous evaluation of the window it is determined that the size of lead originally used was inadequate and contributed to its deterioration, it is recommended that a more substantial profile lead be used. After the window has been releaded and sized, it is soldered on both sides, using a 60/40 tin/lead alloy solder. The window is then cleaned to remove all flux residue.
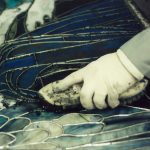
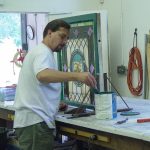
CEMENTING: Cementing is the process by which a grout-like material is inserted under the lip of the lead to take up the space between the glass and the lead. Our cementing process involves treating both sides of the leaded glass panel in this way for maximum penetration.
WIRE TIE INSTALLATION: Wire ties are an integral part of the vertical support system of the window. The wire we use is 14 gauge tin-plated copper. This is superior to the traditional 18 gauge bare copper, which oxidizes, erodes, and becomes brittle in a much shorter period of time. The wire tie is fastened by embedding it into a molten solder joint.
FINAL CLEANING AND INSPECTION: Every window undergoes a final cleaning and inspection process on the vertical light stand, and is then packed and stored for transport.
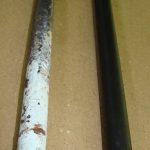
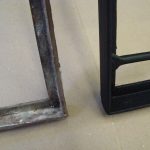
STRUCTURAL SUPPORT SYSTEM: Any support bars or T-bars that are bent, damaged or of insufficient gauge are replaced. They are cleaned to remove corrosion and are painted with a rust-inhibiting paint.
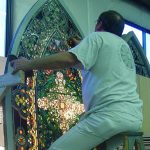
INSTALLATION: Installation is accomplished in much the same fashion as was the original installation. If the windows are in metal frames, they are reinstalled as per original. If they are in wood frames, they are reinstalled with their original wood retaining molding or original-type tacks and sash putty. Any improvements that can be made on the original installation are brought to the client’s attention and implemented if they wish. During installation, the windows undergo a final “in situ” cleaning and inspection.
PHOTOS: Photos are taken of each window after installation.


